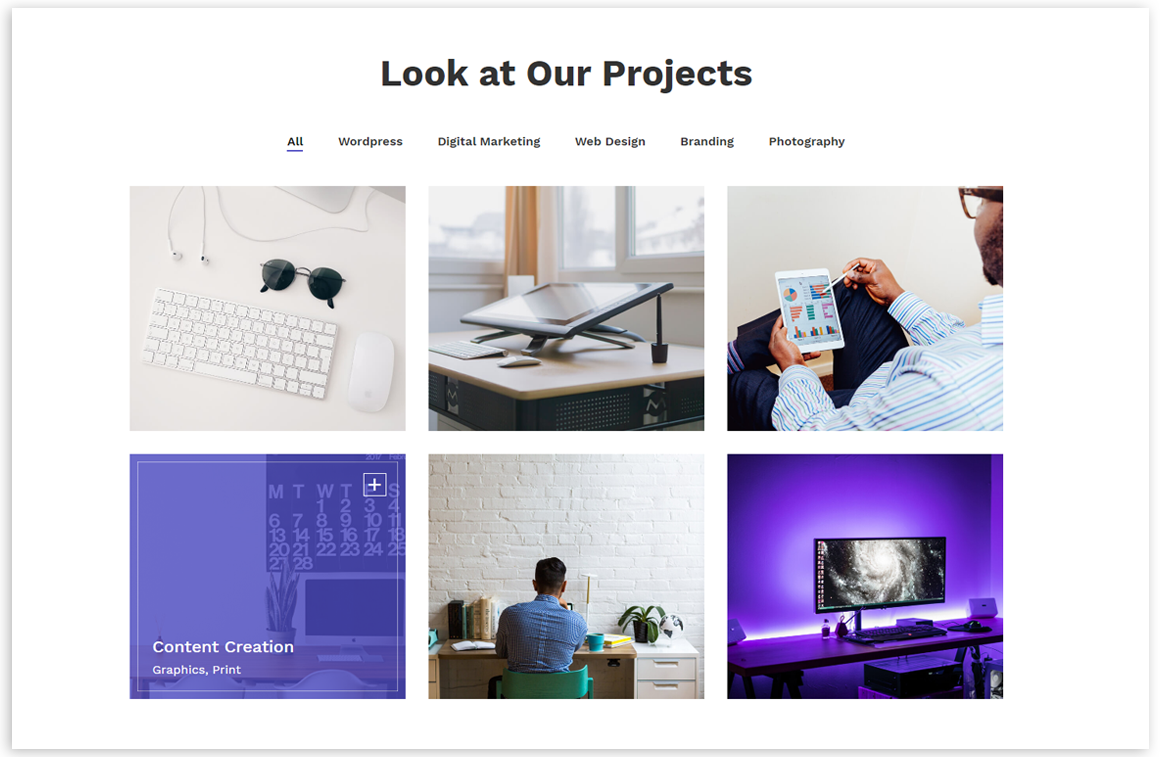
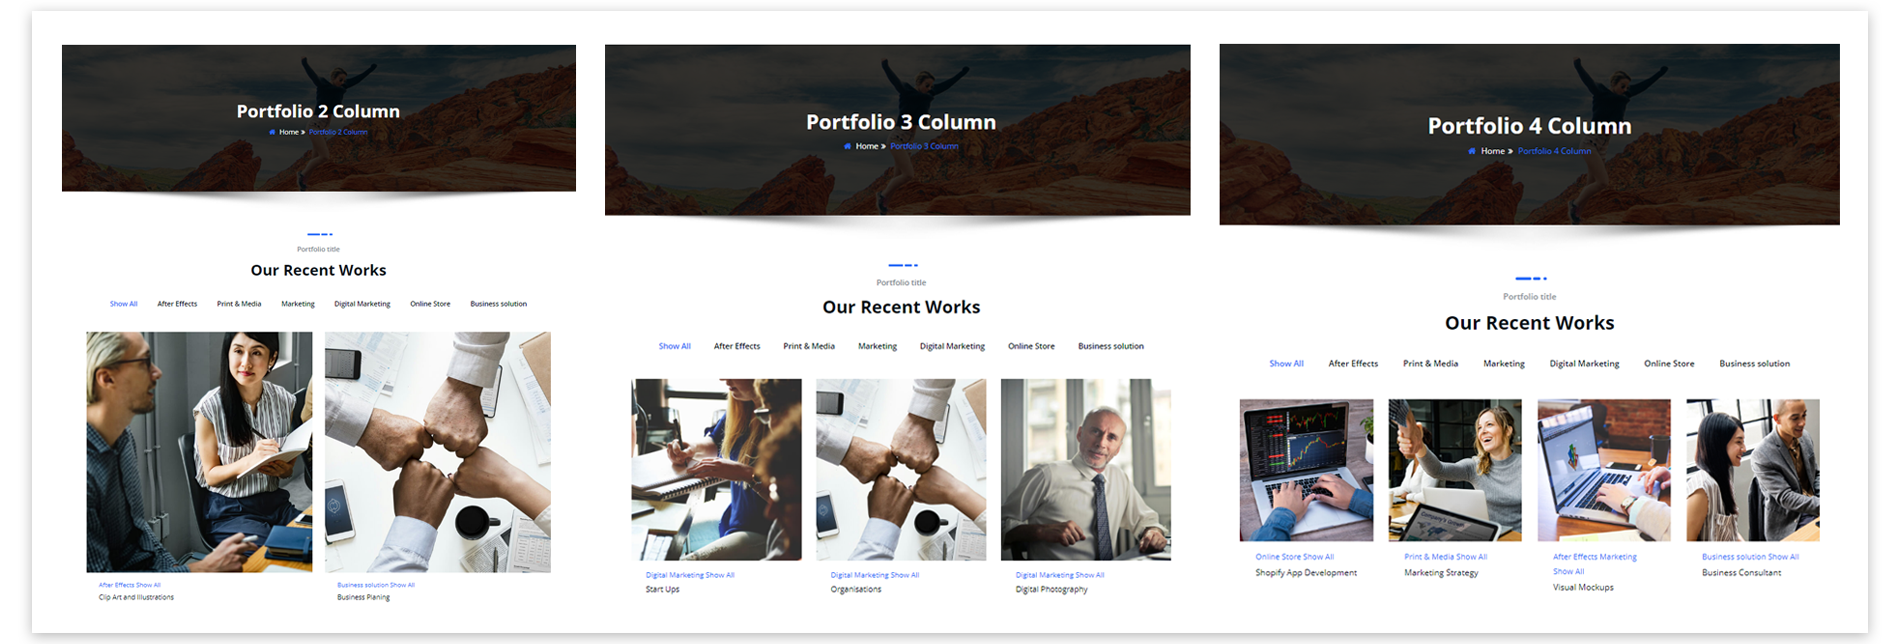
A portfolio shows all your projects. It’s an excellent way to show your works to clients and prospects. CloudPress Pro provides a filterable project feature. This means that you can categorize the projects and allow the users to filter projects according to the categories. You can also choose the layout that best fits your theme and also can set the layout out of three to show projects i.e. Portfolios in 2 columns, 3 columns, and 4 columns.
To create a portfolio, follow the below steps:
1. Create a Project Category (if you want to take advantage of the filtering features)
For the categorized portfolio, you need to start by creating the project categories. Each category will be displayed as the filtering tabs and allow the viewers to see the projects based on their categories.
So to create the Project Category, Go to the Projects tab and click on Project categories. Here you can add categories like graphics, photography, fashion, web design, and so on. Just enter the name of your choice for the category and click on Add New Category button.

2. Create a Project
In the wp-admin panel, click on the Projects tab then click on Add new button. Now while adding projects you need to assign at least one category to each of the ones.

- Name: Add here the name of your project.
- Link: Add a link on the project from here.
- Open link in a new tab: Select this option if you want to open the link in a new tab.
- Project Categories: Now assign a category or categories to the project.
- Featured Image: Set a featured image of your choice.
- Publish the project.
3. Portfolio Settings
To manage portfolio settings, Go to Appearance >> Customize >> Homepage Section Settings >> Portfolio Settings

- Enable Portfolio on Home Page: Hide/Show the Portfolio section on the Homepage.
- Title: Add a title of the Portfolio section.
4. Adding specific project category to the menu

- To add a project category to the menu, Go to Appearance >> Menus
- Click on the Screen Options tab to see the Project categories checkbox, just enable this checkbox to show the Project Categories in “Add menu items”.
- Now you can see a list of the Project categories in the “add menu items”.
- Check one or more project categories that you want to add to the menu.
- Click on the Add to Menu button action to add links to the menu.
- Click on the Save Menu button before leaving the screen to apply the changes.